Hardware & No-Drill Pressure Mounted Guards: Complete Window Safety Guide
Windows pose a dangerous falling risk for curious toddlers and young children. Each year, 3,500 to 5,000 U.S. children are hospitalized after falling from an open window. These falls are preventable. Thankfully, installing window guards provides an effective barrier to protect kids and prevent tragic accidents.
Hardware mounted window guards screw directly into the window frame for a secure, permanent installation. With simple tools and proper planning, you can easily add this critical layer of safety in your home.
If you are using the FairyBaby pressure mounted window guard installation, check out the last step
Benefits of Hardware Mounted Window Guards
Hardware mounted window guards offer several advantages:
- Strong and secure - Directly attached to the window frame, hardware mounted guards cannot be pushed out like friction-fit options.
- More aesthetically pleasing - Slimline design integrated into window frames looks nicer than bulky friction guards.
- Allows for ventilation - Can be opened partially for fresh air unlike fixed guards.
- Long-lasting - Durable construction remains functional for years when properly maintained.
Hardware mounting creates sturdy anchoring to keep kids safely inside and prevent window falls.
Window Guard Safety Standards
All window guards must meet safety standards established by the Window Covering Safety Council:
- Bars spaced no more than 4 inches apart.
- Designed to withstand outward force of 60 pounds.
- Properly installed and maintained per manufacturer guidelines.
- Includes safety release mechanisms to facilitate emergency exits.
Bars spaced too far apart can still allow a child to fit through. Comply with a maximum 4-inch spacing rule.
Window Types Compatible With Hardware Guards
Hardware mounted guards work on many common window types:
- Double hung - Install on bottom window of the pair. Allows top window to open for ventilation.
- Single hung - Install on lower window frame. Permits window to slide open partially.
- Casement - Install on window frame. Casement crank allows window to open to a vented position.
- Slider - Install on stationary panel. Slider window still permitted to open halfway.
Ensure at least one window can open for ventilation in bedrooms. Measure carefully to get a secure fit. More bedroom childproofing tips here.
Tools Needed for Installation
Installing hardware mounted window guards requires just a few basic tools:
- Tape measure
- Drill
- 1/8” drill bit
- Screwdriver
- Level
- Stud finder (for finding window framing)
- Drill bit extension (for hard-to-reach spots)
Having an extra person helps hold the guard while attaching screws.
How to Measure Windows Accurately
Taking precise window measurements ensures ordering the properly sized window guard. Follow these steps:
- Measure window width - Measure the full width of the window frame at the bottom. Record the width from inside edge to inside edge.
- Measure window height - Measure from the bottom window sill up to the top of the frame. Record the exact height.
- Account for obstructions - Note any sill locks, cranks, or window stops that may interfere with installing a guard flush against the frame. Measure the guard placement area.
- Measure window depth - Note the thickness of the window frame to ensure the guard will fit properly.
- Order window guards - Use your measurements to order guards sized specifically for each window.
Measure twice for accuracy! Sized-to-fit guards provide optimal protection.
How to Install Hardware Mounted Window Guards
Once you have your properly sized window guards, follow these steps for DIY installation:
Step 1: Set Window Guard in Place
- Center the guard in the window frame.
- Ensure bar spacing meets the 4-inch code standard.
- Confirm the unit is level using a level tool.
Step 2: Mark Pilot Holes
- Use a pencil to mark the locations of screw placement near each corner.
- Pilot holes prevent frame cracking when screws are installed.
Step 3: Drill Pilot Holes
- Using a 1/8” drill bit, drill pilot holes in the marked locations.
- Drill slowly to avoid damage, using minimal pressure.
- Insert an extension bit if the window frame is thick.
Step 4: Secure With Screws
- Switch the drill over to a screwdriving attachment.
- Line up each screw with pilot holes and firmly fasten into place.
- Do not overtighten. Screws should fit snugly but not strip.
- Install screws in each marked pilot hole location.
Step 5: Check Security and Operation
- Ensure the guard is firmly fixed in all corners with no movement or gaps.
- Test safety release latches open properly for emergency exits when needed.
- Confirm any operable windows still function properly for venting.
Repeat installation carefully on every unprotected window accessible to children.
Finding Studs for Attachment
For the strongest mounting, fasten window guards into the window framing studs:
- Use a stud finder to locate studs bordering the window frame.
- Mark the stud centers with pencil.
- Position pilot holes over the stud markings to drill screws directly into framing.
Attaching into studs provides reinforcement compared to just drywall.
Spacing Guards for Safety
Proper guard spacing keeps kids in and intruders out:
- Bars spaced no more than 4 inches apart deter climbing or squeezing through.
- Position lowest bar no higher than 4 inches up from the floor to prevent kids from scooting underneath.
- Place highest bar at minimum 8 inches down from top of frame so children cannot push guard out.
Closely spaced bars that maximize coverage height deliver optimal protection.
Avoid Potential Issues During Installation
When mounting window guards, beware of:
- Forcing wrong-sized guards into window frames. Carefully measure each window before installing.
- Overtightening screws. Tighten until snug only to avoid stripping the framing.
- Failing to pre-drill pilot holes. Pilot holes prevent cracking at screw sites.
- Not centering between window stops. Allow room for window operation.
- Neglecting to test safety releases. Ensure exits are not blocked while preventing falls.
Proper measuring, drilling, and positioning delivers safe and secure window guard mounting.

Performing Routine Window Guard Maintenance
A few quick maintenance steps keep guards working properly:
- Check security monthly - Confirm screws are tight and attachment is secure. Tighten any loose screws.
- Test safety releases - Open and close all releases monthly to verify smooth function. Lubricate sticking latches.
- Inspect for damage - Look for any cracked screws, bent bars, or damage. Replace damaged guards immediately.
- Remove grime - Clean dirty guards with mild soap and water to maintain visibility.
Well-maintained guards continue protecting kids long-term. Replace damaged or broken window guards right away.
Installing Window Guards on All Accessible Windows
Completing full window coverage optimizes child safety:
- Install secure guards on every window in kids’ rooms.
- Protect windows low enough for kids to reach in play areas.
- Don’t forget windows in rooms kids may access unattended like offices or basements.
- Use guards on windows above furniture kids may climb on top of.
- Get landlord permission before adding guards on rental property windows.
Guarding every hazard window eliminates the risk of dangerous falls and wandering.
Ensure a Safer Home With Secure Window Guards
Adding hardware mounted window guards is a simple do-it-yourself project delivering huge peace of mind benefits. Properly spaced and securely installed guards keep curious kids safer and avoid preventable falls. With routine maintenance, guards continue providing critical protection year after year.
Take control over home safety by outfitting all accessible windows with secure, compliant guards. Help eliminate one of the greatest risks to children while allowing fresh air and natural light to continue filtering into your home.
Try No-Drill Window Guards for Easy Protection
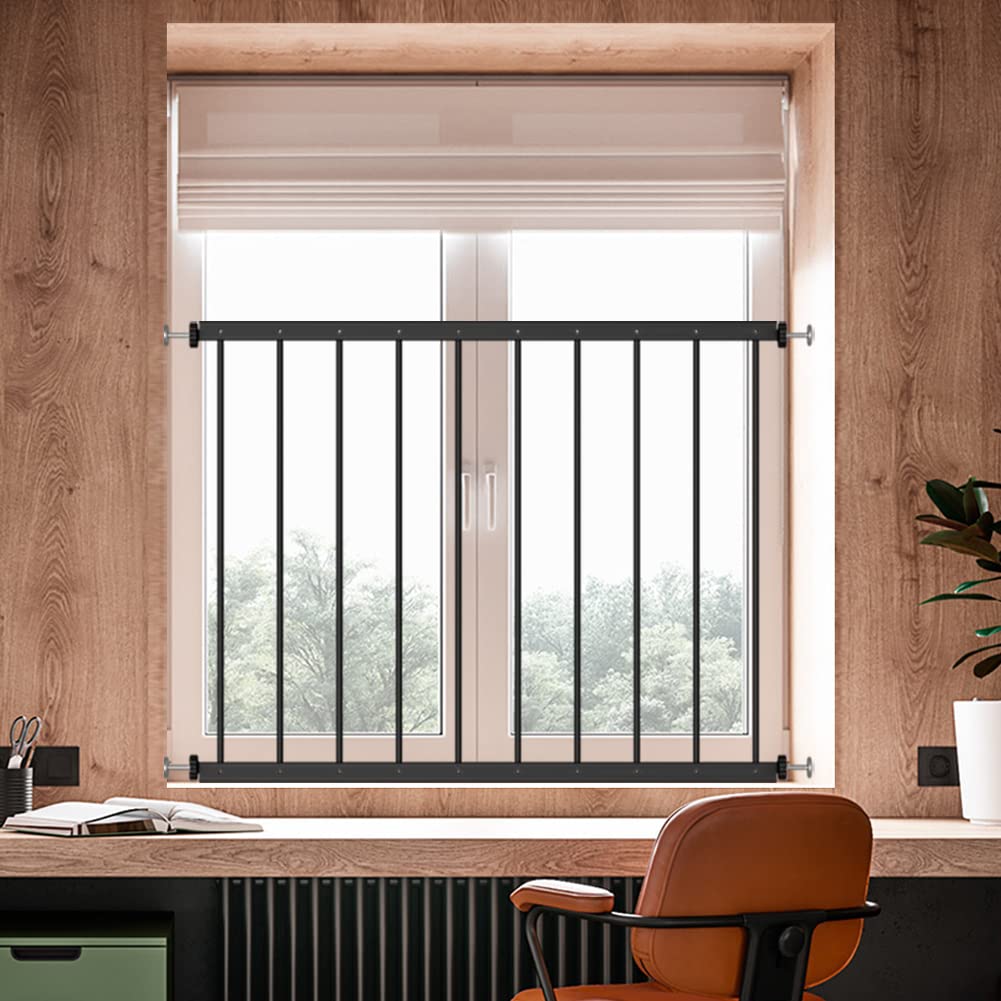
If you want an easy way to childproof windows without making holes in your window frames, pressure mounted window guards are the solution.
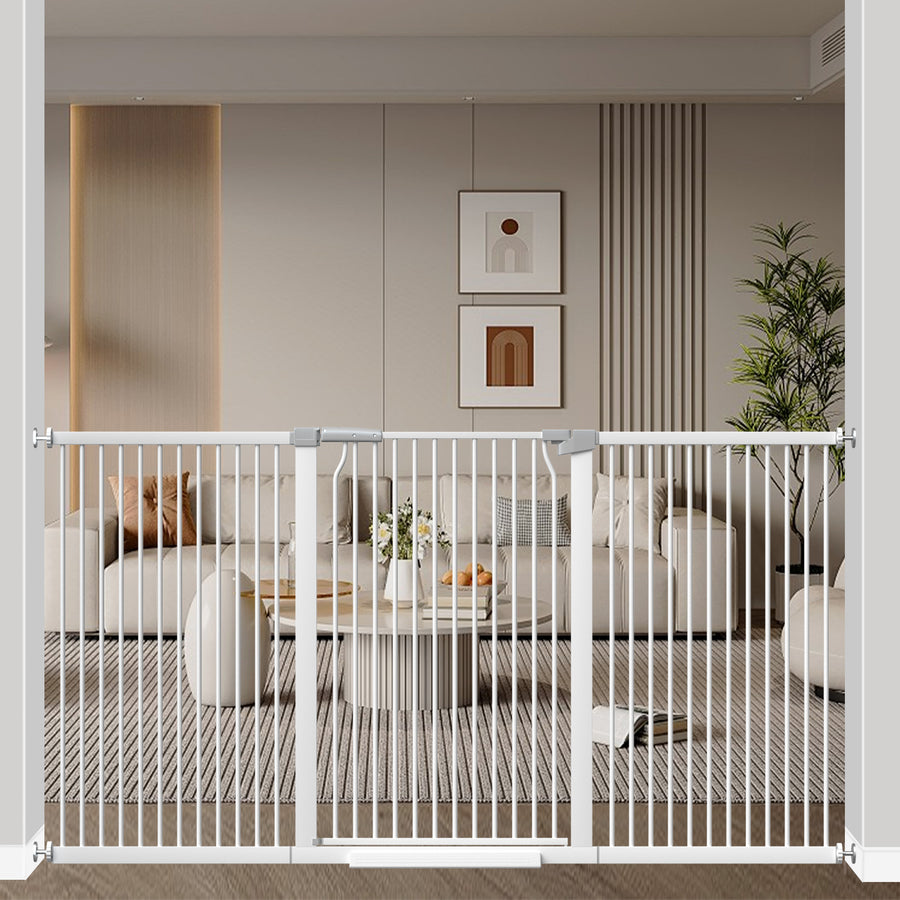
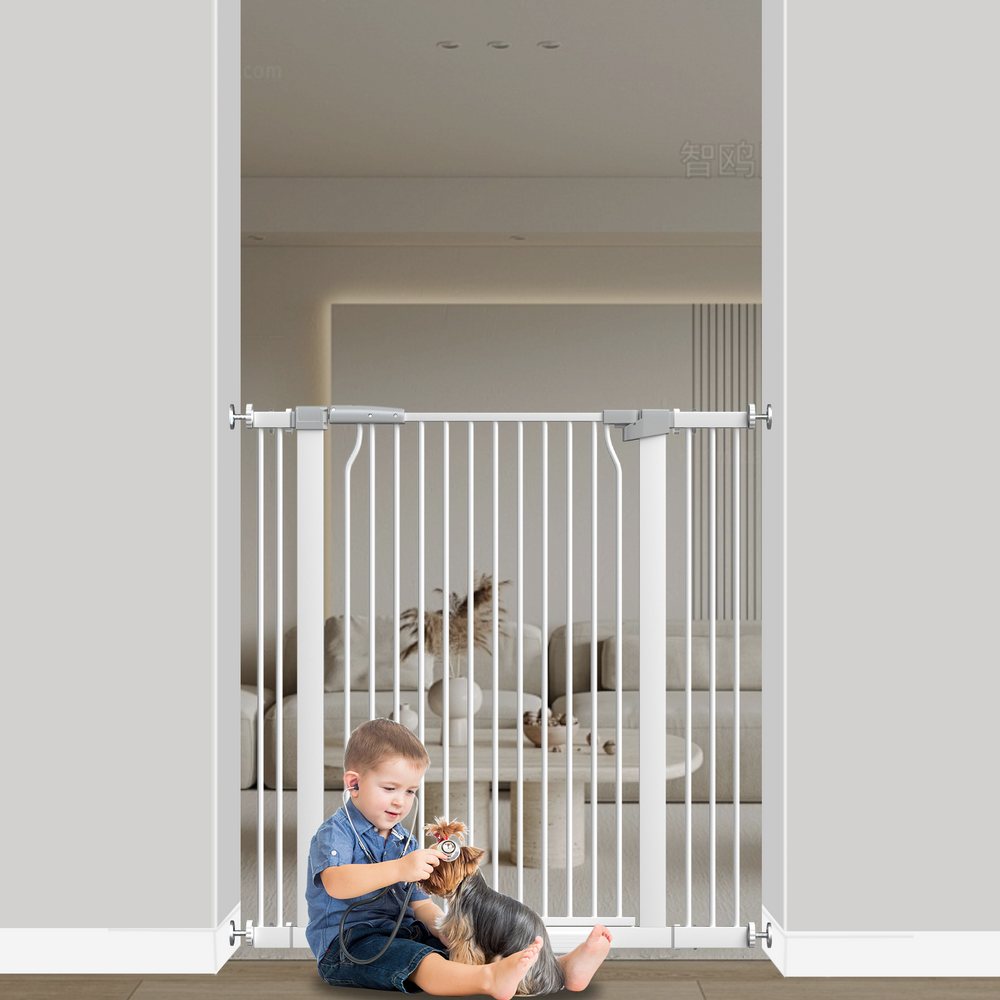
FairyBaby offers high-quality Pressure Mounted Window Guards ↗ that provide secure protection without tools or hardware needed.
These safety window guards feature:
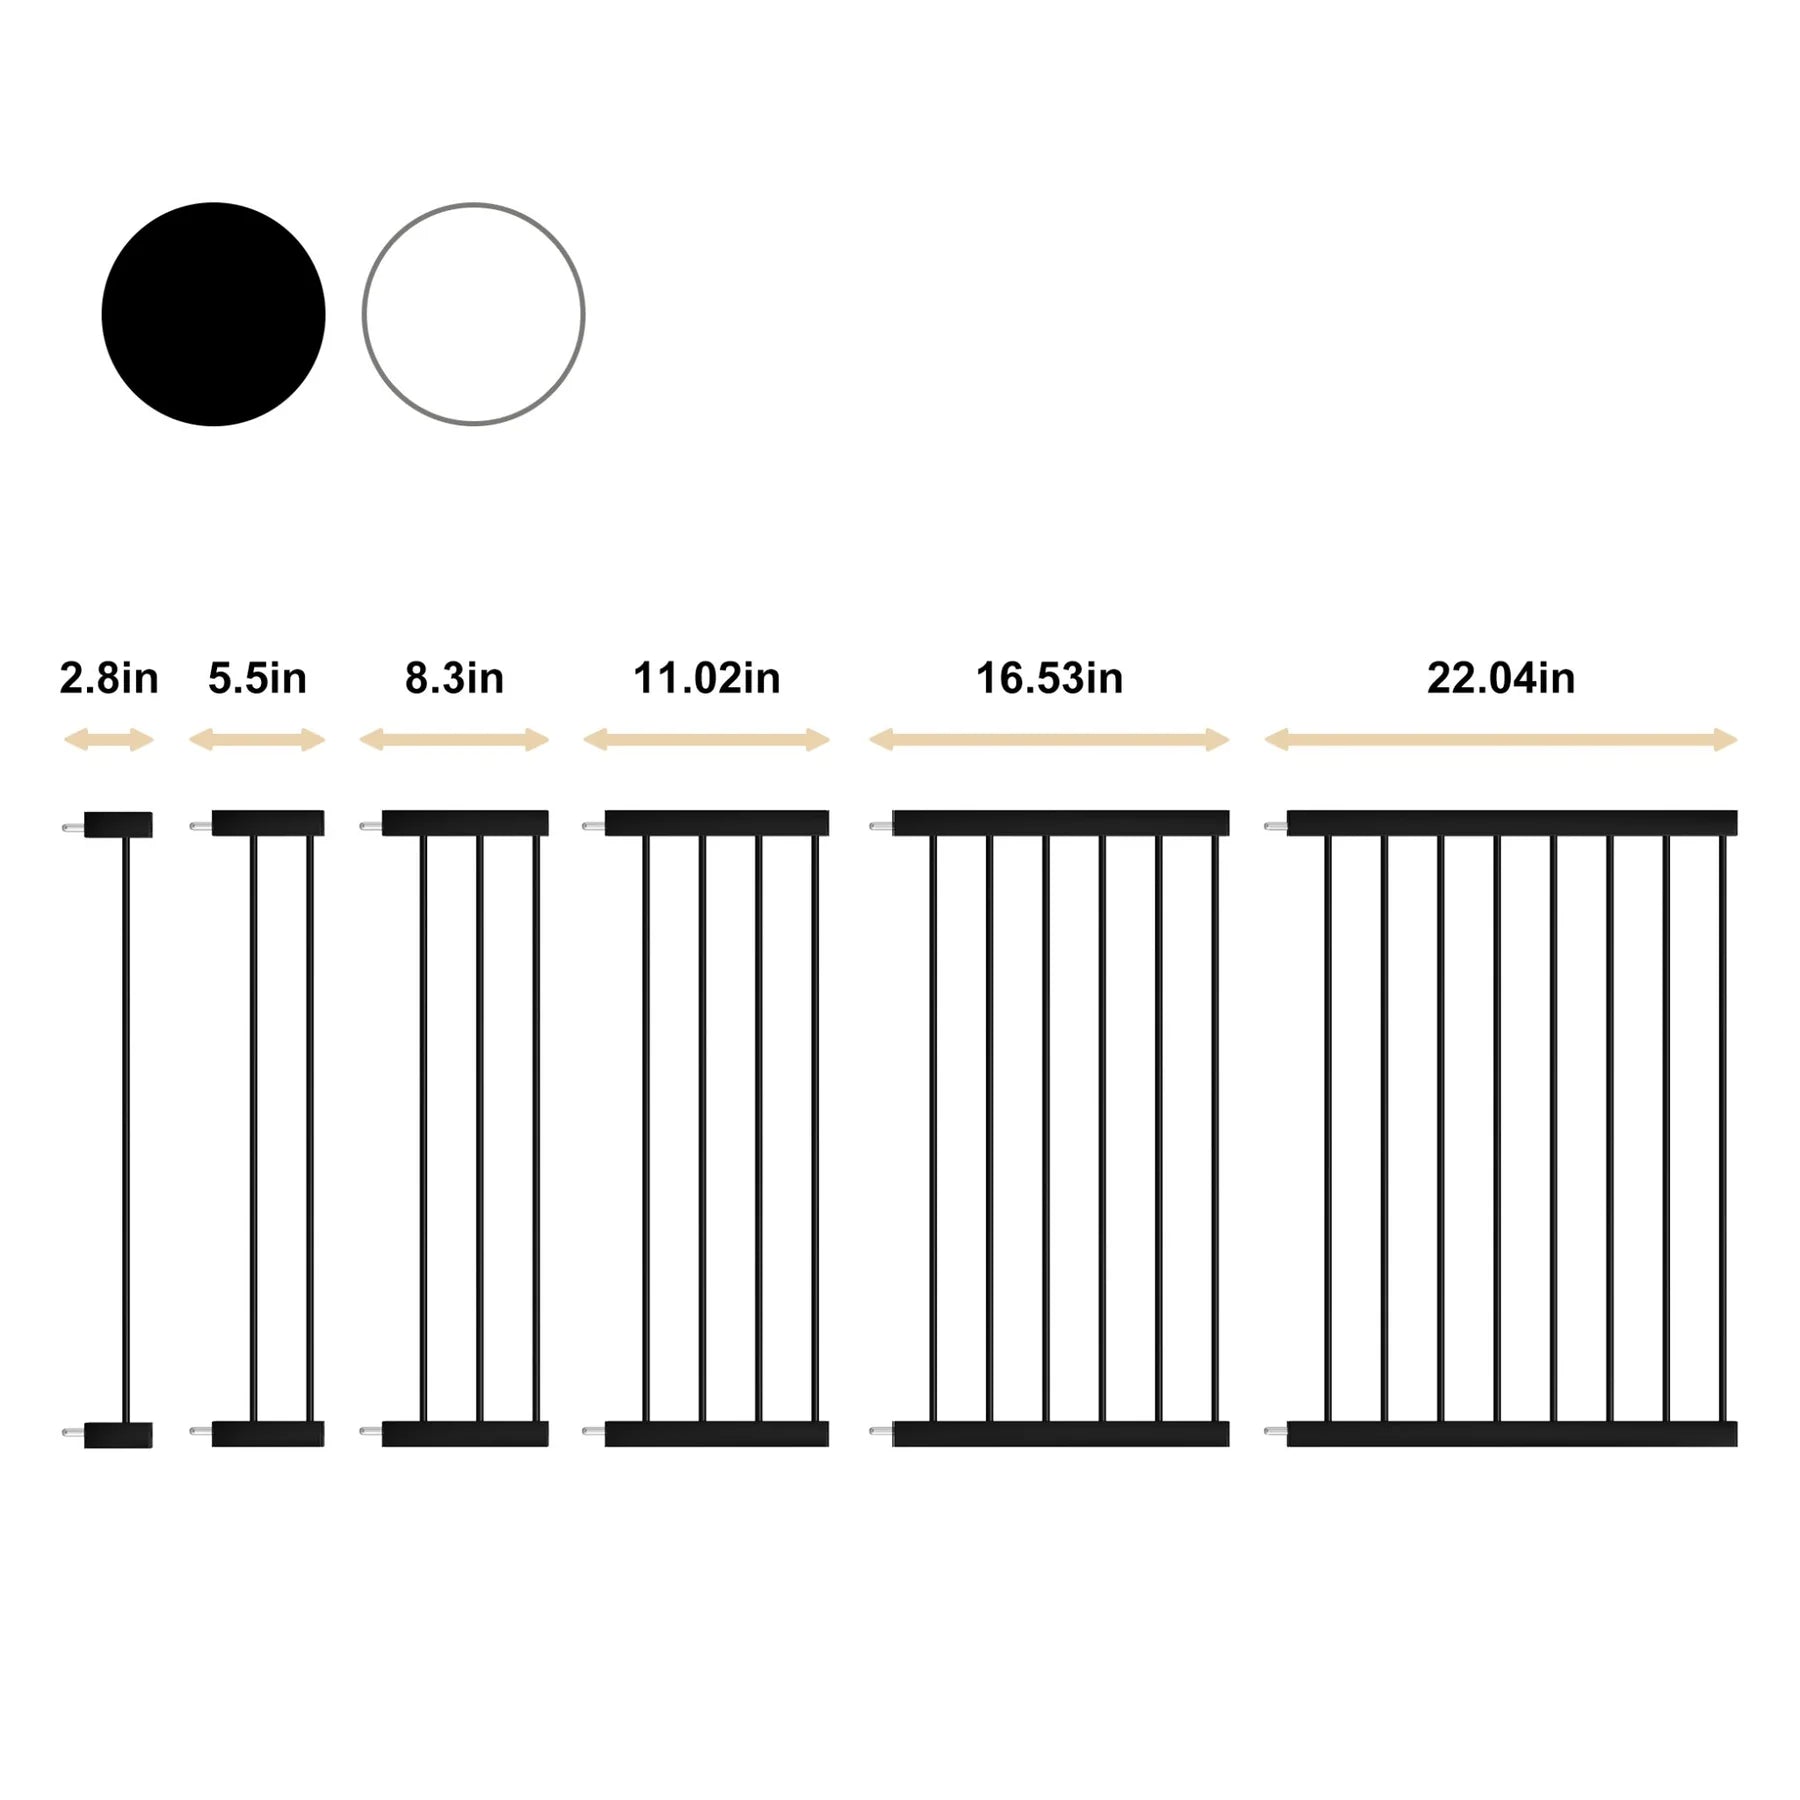
- Adjustable sizes from 31.5" up to 111.8" to fit various windows
- Durable steel construction tested to withstand 150 lbs
- Pressure mounts for quick and easy no-drill installation
- Flexible for vertical or horizontal placement
- CE and CPC certified for safety and quality
The pressure mounting system ensures a custom and secure fit for your windows without the need for drilling or attaching screws. Get more information from here: Hardware-Mounted vs. Pressure-Mounted Baby Gates. If you have kids, you might want to know why you have to choose the cat door baby gates.
FairyBaby's window guards allow you to quickly and easily childproof any concerning windows in your home. Protect against falls while still enjoying fresh air flow with these no-hardware-needed window barriers.
Give your kids peace of mind and rest easy yourself knowing your windows are safely secured with FairyBaby's hassle-free pressure mounted window guards. Coupon here!



Leave a comment